Achilles Calf Raise Protocol: How to Build Tendon Capacity Safely
ProtocolQuick Comparison
| Product | Key Specs | Price Range |
|---|---|---|
| |
| $20–60 |
| |
| $10–25 |
| |
| $40–200 |
Product prices, certifications, and availability can change; verify the current label and retailer page before buying.
Why Achilles training needs patience
The Achilles tendon stores and releases energy when you walk, run, jump, climb stairs, and lift. It is strong, but it adapts more slowly than muscle. That is why sudden spikes in hill running, plyometrics, speed work, or calf-raise volume can irritate it even when your calves feel strong.
This protocol is for general capacity building, not diagnosis or treatment of a rupture. If you felt a pop, cannot push off, have major swelling, or are limping, stop and get medical care.
How we score this protocol
We use a 100-point composite score to decide whether a protocol is ready to publish: Research fit 30%, evidence quality 25%, practical value 20%, user signals 15%, and transparency 10%. For this Achilles calf raise protocol, research fit is high because the plan maps to eccentric loading, heavy-slow resistance, and pain-monitoring models studied in tendon rehabilitation. Evidence quality is moderate to high because most trials involve symptomatic tendinopathy groups rather than every healthy runner or walker. Practical value is high because the movements require little equipment and scale from bodyweight to loaded work. User signals are moderate because real-world tolerance varies by symptom stage, footwear, training history, and running volume. Transparency is high because this article separates general capacity advice from medical diagnosis and uses search-link fallbacks instead of unverified direct ASINs.
The four-week starter progression
Use this plan two or three days per week. Keep at least one easy day between sessions.
Week 1: Isometric tolerance
- Two-leg calf raise hold: 4 sets of 20 to 30 seconds
- Seated calf raise hold: 3 sets of 30 seconds
- Easy ankle circles or banded ankle mobility: 2 minutes
Hold the heel halfway up, not at the very top. The goal is steady tendon loading without bouncing.
Week 2: Slow two-leg raises
- Two-leg calf raises: 3 sets of 12
- Three seconds down, one second up
- Optional slant-board calf stretch: 2 gentle holds of 20 seconds
Do not chase a deep stretch if the tendon is sensitive. Range of motion can increase later.
Week 3: Single-leg introduction
- Single-leg calf raises: 3 sets of 6 to 8 per side
- Two-leg calf raises: 2 sets of 12
- Seated calf raises: 2 sets of 15
Use a wall or rack for balance. The working leg should do the lifting, not your arms.
Week 4: Load or volume
Choose one progression, not all of them:
- Add a light dumbbell or backpack
- Add one set
- Add 2 reps per set
- Add a slightly slower lowering phase
If morning stiffness worsens, reduce the previous session by 30 to 50 percent.
Useful gear, with link-safety note
You can do this protocol with a stair and a wall. Gear is optional.
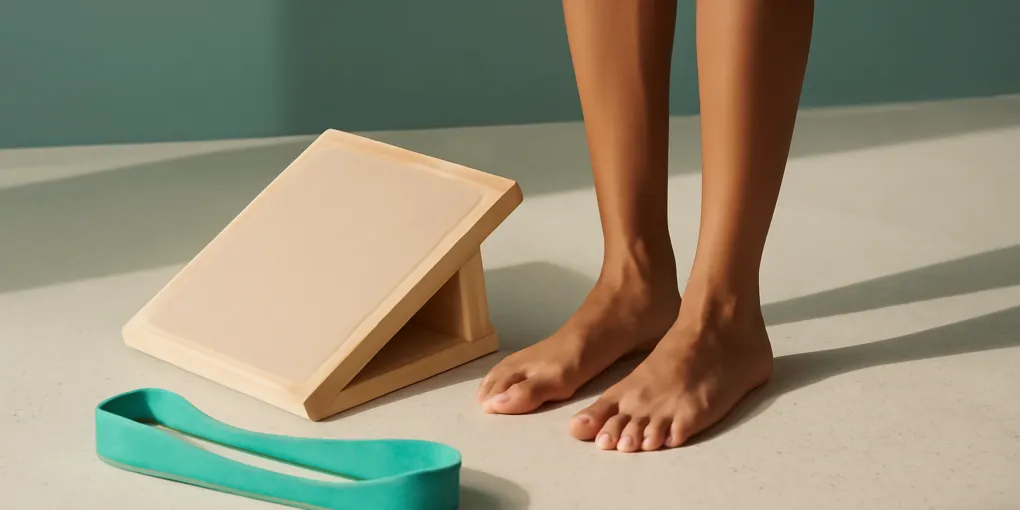
- Slant board for calf stretch on Amazon
- Resistance bands for ankle mobility on Amazon
- Adjustable dumbbell on Amazon
These are search-link fallbacks because exact ASINs were not verified during this run.
How to know you are progressing
Good signs:
- Less next-day stiffness
- Better single-leg control
- More reps with the same discomfort level
- Walking or running feels more springy, not more guarded
Bad signs:
- Pain sharpens during the session
- Morning stiffness increases for more than 24 hours
- You start limping
- Swelling or warmth appears around the tendon
Common mistakes that stall tendon progress
The first mistake is changing too many variables at once. A runner might add hill repeats, switch shoes, increase weekly mileage, and start calf raises in the same week. If the tendon flares, there is no way to know which input exceeded capacity. Keep the training environment boring while you build calf strength.
The second mistake is treating stretching as a substitute for loading. Stretching can feel good, and a slant board can be useful, but tendons need progressive force exposure. If the only stimulus is passive stretching, the calf and tendon may not become more tolerant of running, jumping, or loaded walking.
The third mistake is chasing soreness. Muscles can feel pleasantly sore after hard work, but tendons often complain the next morning. For Achilles work, the morning-after test matters more than the pump during the session. If stiffness increases the next day, the previous workout was too much.
The fourth mistake is ignoring the soleus. The gastrocnemius crosses the knee, while the soleus does not. Straight-knee calf raises bias the gastrocnemius more, and bent-knee calf raises shift more work toward the soleus. Runners and walkers need both because the soleus contributes heavily during stance and push-off.
How to adapt the plan for different goals
For walkers
Walkers can keep the plan simple. Two sessions per week plus normal walking volume is usually enough. Add load only after the single-leg raise feels controlled. If hills are part of your routine, add them gradually because uphill walking increases calf and Achilles demand.
For runners
Runners should place calf work away from speed sessions at first. A good sequence is easy run, calf work later that day, then an easier day or rest day. Avoid adding plyometrics until single-leg calf raises and loaded carries feel routine.
For lifters
Lifters can attach this protocol to lower-body days, but heavy squats, sled pushes, and loaded carries already stress the calves. Start with fewer sets if your leg training is demanding. If Achilles symptoms exist, do not bury calf work after a maximal lower-body session.
For older adults
Older adults often benefit from slower progressions and more balance support. Use a wall, rail, or rack. The goal is clean force production, not proving balance. Seated calf raises can be a useful entry point when standing work feels too demanding.
Equipment choices and when they matter
A slant board is useful when you want a repeatable angle. A stair is useful when you want convenience. Resistance bands help with warm-up and ankle control, but they do not replace loaded calf raises. Dumbbells, kettlebells, and backpacks help progression once bodyweight is too easy.
If you buy equipment, prioritize stability. A wobbly slant board or slick wedge is worse than no tool because it changes the exercise into a balance test. For tendon loading, predictable force is the point.
Pain-monitoring rules
A simple rule is to keep discomfort mild and stable during training, then judge the response over the next 24 hours. If pain climbs set by set, stop. If morning stiffness is worse, reduce volume. If symptoms improve or stay stable, continue.
This approach is not a universal medical rule, but it helps readers avoid the two extremes: avoiding all load forever or forcing through every warning sign.
Weekly schedule examples
Two-day plan
Use this if you are cautious, symptomatic, or already training hard:
- Monday: isometrics, slow calf raises, light mobility
- Thursday: repeat with the same volume or one small progression
- Other days: normal walking, easy cycling, or upper-body training as tolerated
This schedule gives the tendon time to report back. It is especially useful when you are not sure how much loading you can handle.
Three-day plan
Use this if you are asymptomatic and building capacity:
- Monday: calf raise strength work
- Wednesday: isometrics plus mobility
- Friday: calf raise strength work
The middle day should feel easier. It keeps the habit alive without turning every session into a hard session.
Return-to-running support plan
If you are returning to running, separate the first run workouts from the hardest calf sessions. For example, easy jog on Tuesday, calf strength on Wednesday, easy walk or bike on Thursday. Add running volume before adding speed. Tendons usually dislike sudden speed and hill work more than a small amount of easy flat running.
Form cues that matter
Keep pressure through the big toe and second toe instead of rolling to the outside edge of the foot. Rise smoothly, pause briefly, then lower under control. If the arch collapses or the ankle wobbles, reduce load and use a support.
Tempo matters because it prevents cheating. A three-second lowering phase gives the calf time under tension and makes each rep measurable. Fast bouncing reps can be useful in plyometric phases, but they are not the starting point for tendon capacity.
Breathing matters too. If you brace so hard that every rep becomes a full-body strain, the load may be too heavy. Calf training should be challenging, not chaotic.
When to progress beyond calf raises
Once single-leg calf raises are strong and symptom response is stable, you can add more athletic work: pogo hops, jump-rope intervals, hill strides, or short accelerations. Add only one category at a time. A tendon that tolerates calf raises may not yet tolerate repeated springy contacts.
A simple readiness check is 20 controlled single-leg calf raises per side with similar range and tempo. This is not a medical clearance test, but it gives recreational athletes a useful baseline before plyometrics.
Red flags that need assessment
Do not use a blog protocol to self-manage possible rupture, infection, inflammatory disease, or nerve symptoms. Red flags include a sudden pop, bruising, inability to perform a gentle two-leg calf raise, numbness, fever, rapidly increasing swelling, or pain that wakes you at night. Those situations deserve clinician evaluation.
Persistent one-sided tendon pain also deserves more context than a generic plan can provide. Foot structure, training surface, medication history, inflammatory conditions, and prior injuries can all change the right loading strategy. A physical therapist or sports-medicine clinician can test calf strength, ankle mobility, hop tolerance, and gait mechanics.
Nutrition and recovery support
Tendons are living tissues. They respond to load, but the response depends on recovery. Eat enough total calories, keep protein intake consistent, and avoid stacking hard running, poor sleep, and aggressive calf work. Collagen or gelatin plus vitamin C is sometimes discussed for tendon support, but loading remains the main signal. Treat nutrition as support for a smart program, not a replacement for one.
Evidence notes
Key sources:
- Alfredson H et al. Heavy-load eccentric calf muscle training for chronic Achilles tendinosis. American Journal of Sports Medicine. 1998. https://doi.org/10.1177/03635465980260030301
- Beyer R et al. Heavy slow resistance versus eccentric training for Achilles tendinopathy. American Journal of Sports Medicine. 2015. https://doi.org/10.1177/0363546515584760
- Silbernagel KG et al. Continued sports activity using a pain-monitoring model during rehabilitation in Achilles tendinopathy. American Journal of Sports Medicine. 2007. https://doi.org/10.1177/0363546506298279
Bottom line
Achilles capacity comes from progressive, boring loading. Start with isometrics, add slow calf raises, progress one variable at a time, and respect next-day stiffness. The best protocol is the one your tendon can recover from consistently.
Frequently Asked Questions
- Mild discomfort can occur in tendon rehab, but sharp pain, worsening morning stiffness, swelling, or limping are stop signs. Use clinician guidance if symptoms are persistent.
- Eccentric heel drops are one evidence-based option, but modern tendon rehab often uses a broader heavy-slow resistance approach with individualized loading.
- Tendon adaptation is slow. Expect weeks for tolerance changes and several months for meaningful capacity, especially if symptoms have been present for a long time.