Inspect a Resistance Band for Wear Before Use
Evidence ExplainerYou are ready to train, but the resistance band has been folded in a drawer, looped around an anchor, and pulled through more than one session. Take a moment before you use it: inspect the whole band for small tears, abrasions, cracks, nicks, or punctures, and look closely at the connection points. If you find wear, stop using that band and replace it.
That is a short check, not a test of how much resistance the band can take. The useful decision is simply whether the material and its attachment areas show visible wear before you begin.
Start with the full length of the band
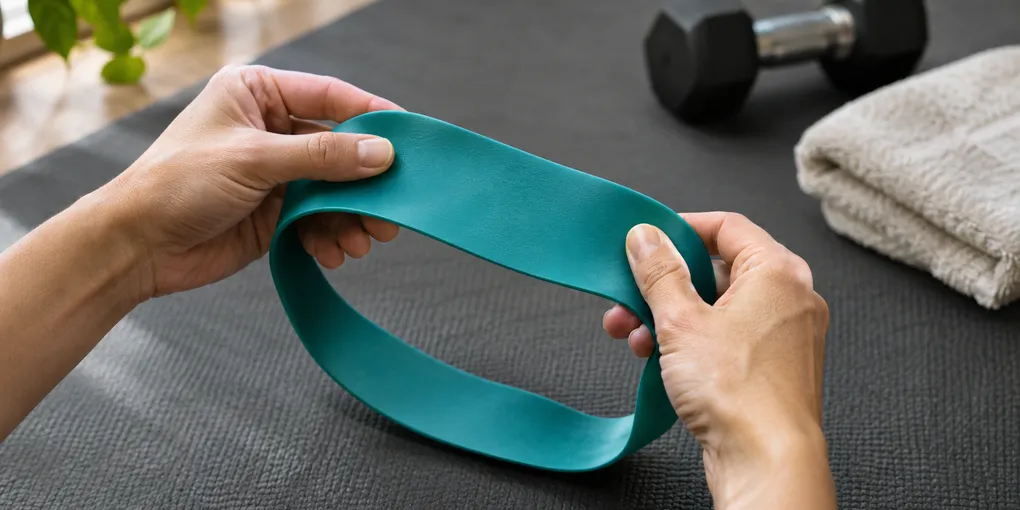
Lay the band where you can see its surface from end to end. Move it through your hands at an unhurried pace, looking for the specific signs the manufacturer guidance names: small tears, abrasions, cracks, nicks, and punctures.
This first pass matters because a loop or long band can hide part of its length while it is coiled, under a foot, or gathered in your hand. Open the band enough to see each section instead of checking only the part closest to the handles or the section you normally grip.
For a loop, turn it over as you move along it so that both faces are visible. For a flat band or tube, change the way you hold it rather than relying on one quick glance. The goal is not to stretch the band to a prescribed amount; it is to make every section visible enough to notice the wear signs named by the manufacturer.
If you use more than one band, inspect each one separately. A stack of similar bands is easy to treat as one piece of gear, but the decision belongs to the individual band in front of you.
Give connection points a second look
After the full-length pass, look again at the places where the band meets another part. Performance Health says to pay particular attention to the connection point. HCI Fitness similarly calls out areas where a band has been attached, wrapped, or secured to an anchoring device.
That can mean different places depending on the band you have:
| Band setup | Area to inspect |
|---|---|
| Flat band or loop | The full length, including the section that is usually folded or gripped |
| Band with handles | The material immediately beside each handle connection |
| Anchored band | The section that contacts the anchor, attachment, or wrap point |
| Tubing with attachments | The tubing close to each connector or attachment point |
The table is a way to slow down the visual check, not a substitute for the instructions that came with your specific band or accessory. If the maker identifies another inspection point, add it to your usual pass.
Make the decision when you see wear
There is no need to decide whether a small flaw is worth ignoring. The manufacturer guidance cited here is direct: inspect before use and replace bands or tubing that show signs of wear. HCI Fitness likewise says to discard and replace a band if an examination finds flaws such as nicks, small tears, punctures, or peeling at a seal.
Keep the next step simple:
- Pause the session when you notice a tear, abrasion, crack, nick, puncture, or peeling at a connection or seal.
- Set that band aside so it does not return to the same pile as the bands you still use.
- Follow the product maker’s instructions for replacement and care rather than attempting a universal repair or replacement schedule.
The point is not to judge a band by its age or color. It is to use the visible condition of that individual band as the reason to stop and replace it when wear appears.
Build the check into your setup
The easiest time to inspect a band is before it is part of the exercise setup. Put the band on a clear surface while you gather the rest of the equipment, then make the full-length pass and the connection-point pass before you begin.
For bands that are stored together, return them in a way that keeps the next inspection simple. Avoid burying a band you set aside for wear under the rest of the gear. A separate spot makes the later replacement decision clearer and prevents a damaged band from drifting back into the regular rotation.
This is also a useful reason to keep the maker’s product instructions accessible. Different band designs can have different connection points, anchors, or care directions. The visible-wear check stays the same; the exact places you inspect should match the band and accessories you actually use.
Evidence boundary
The cited manufacturer guidance supports a pre-use visual inspection and the listed signs of wear. It does not establish one replacement interval, stretch limit, repair method, or outcome for every resistance-band design. Use the instructions for your particular band and accessories alongside this check.
Frequently asked questions
What should I look for on a resistance band before using it?
Look for small tears, abrasions, cracks, nicks, punctures, and peeling or wear at connection points. Manufacturer guidance calls for an inspection before use.
Where should I inspect a resistance band most closely?
Inspect the full length, then give extra attention to connection points and places where the band attaches, wraps, or is secured to an anchor or accessory.
What should I do if I find a tear or crack in a resistance band?
Stop using that band. The manufacturer guidance cited here says to replace bands or tubing that show wear.