Lactate Threshold Meter Protocol: How to Use Blood Lactate Without Overcomplicating Training
ProtocolQuick Comparison
| Product | Key Specs | Price Range |
|---|---|---|
| See current price on Amazon |
| $250–450 |
| See current price on Amazon |
| $50–100 |
Product prices, certifications, and availability can change; verify the current label and retailer page before buying.
Bottom line
A lactate meter is useful only when it improves decisions. It can help endurance athletes estimate thresholds, confirm whether easy days are truly easy, and build repeatable intensity zones. It can also become expensive noise if every reading is treated as a verdict. The protocol below is designed for recreational athletes who already train consistently and want a careful field-testing method.
G6/composite score
| Factor | Weight | Score | Rationale |
|---|---|---|---|
| Research | 30% | 8.0 | Lactate physiology and threshold concepts are well studied. |
| Evidence Quality | 25% | 7.3 | Field accuracy depends on sampling and pacing. |
| Value | 20% | 6.5 | Strips are expensive; not needed for most beginners. |
| User Signals | 15% | 7.1 | Actionable when paired with heart rate and pace. |
| Transparency | 10% | 7.8 | Protocol, values, and conditions can be logged. |
| Composite | 100% | 7.4 | Weighted editorial score for the right reader, not a medical recommendation. |
Before you buy
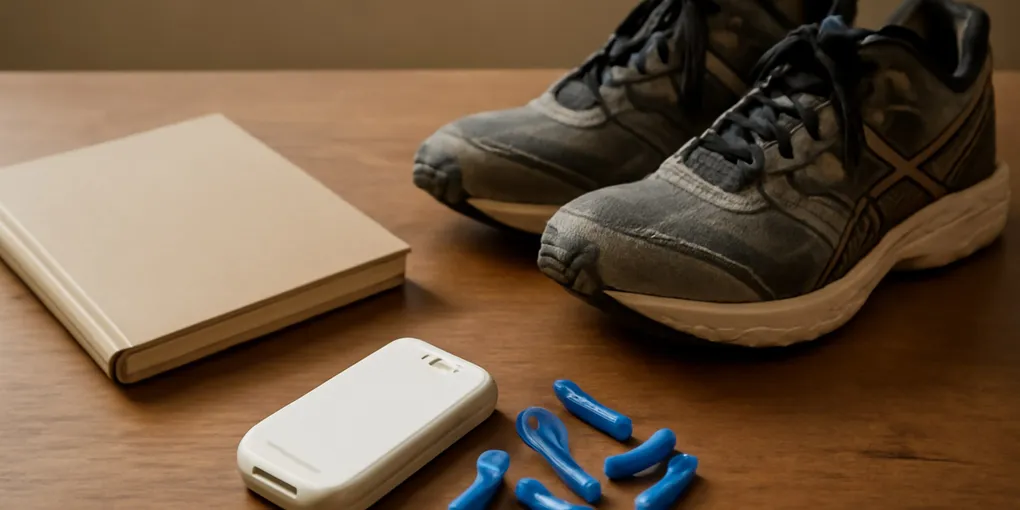
Do not buy a lactate meter to start exercising. Build months of consistent training first. The meter makes more sense once you already track duration, pace or power, heart rate, sleep, and perceived exertion. A heart-rate chest strap — see current price on Amazon, simple training log, and repeatable route often deliver most of the value for less money.
If you do buy, compare meter cost, strip availability, control solution, lancets, sample size, and temperature/storage rules. Search Amazon for blood lactate meter kits, then verify current strip supply before committing to a device.
The testing setup
Pick one modality: treadmill running, track running, indoor cycling, or rower. Use the same modality for future comparisons. Warm up for 15 minutes. Prepare clean hands, lancets, strips, alcohol wipes, and a disposal plan. Record sleep, caffeine, recent training load, room temperature, and time of day.
Sampling errors are common. Sweat contamination, insufficient blood, expired strips, and rushed handling can distort results. Read the manufacturer instructions twice before the first test.
Step test protocol
Use stages of four to five minutes. Start easy. Increase speed, grade, or power in small steps. At the end of each stage, record heart rate, pace or power, rating of perceived exertion, and lactate. Continue until lactate clearly rises and effort is hard but controlled. Stop if form breaks, symptoms appear, or the test no longer serves the plan.
The goal is not to suffer. The goal is to map a curve. A single value means little without the stage context.
Interpreting results
Many coaches discuss first and second lactate thresholds, but field interpretation varies. Instead of pretending one consumer test gives laboratory precision, look for patterns: where lactate stays stable, where it begins to drift, and where it rises sharply. Pair those breakpoints with heart rate and perceived effort.
Use the easy-stable zone to protect aerobic days. Use the steep-rise zone cautiously for intervals. Retest after a training block under similar conditions rather than chasing weekly changes.
Common mistakes
The first mistake is using random stage lengths. Short stages may not stabilize. The second mistake is comparing hot outdoor runs with cool indoor tests. The third mistake is buying strips, testing once, and never changing training. The fourth mistake is ignoring subjective signals because a number looks impressive.
Product selection details
A meter should have available strips, clear calibration requirements, and instructions that are realistic for solo testing. A heart-rate chest strap is a high-value companion because lactate without heart-rate context is hard to use during regular workouts. A notebook or spreadsheet matters more than a fancy dashboard.
How this changes training
After testing, assign workouts to clear purposes. Easy endurance stays below the stable range most days. Tempo work sits near the sustainable threshold zone. Hard intervals go above it deliberately, then stop before form and recovery collapse. The meter is a calibration tool, not something you need for every run.
For a lower-tech approach to aerobic work, see our zone 2 treadmill protocol.
Safety
Finger-stick testing creates sharps and blood exposure. Use sterile lancets once, dispose of them safely, and do not share devices. If you have bleeding disorders, fainting with needles, diabetes care questions, or infection risk concerns, seek clinical guidance.
FAQ
Do recreational runners need a lactate meter?
Most do not. It is most useful for consistent athletes who already follow structured training and want tighter intensity calibration.
How often should I test?
Every 6 to 12 weeks is enough for most non-professional athletes. More frequent testing often adds cost without better decisions.
Can lactate replace perceived exertion?
No. Perceived exertion, heart rate, pace or power, and recent fatigue all matter. Lactate is one signal.
Why do my readings vary?
Sampling technique, temperature, stress, caffeine, recent workouts, hydration, and stage design can all change values.
First-month lactate-testing trial
Do not start by testing every workout. In the first week, practice the non-exercise parts: loading strips, using lancets safely, getting a clean fingertip sample, timing a reading, and disposing of sharps. If you cannot do that calmly at rest, the meter will be less reliable when you are sweating and breathing hard.
For the first real test, choose a rested day, a controlled indoor bike or treadmill if possible, and stages long enough to stabilize effort. Record pace or power, heart rate, RPE, room temperature, caffeine, sleep, and the exact sampling site. During the next two weeks, use the result for one training decision only, such as setting an upper cap for easy endurance work. Retest after 6 to 12 weeks, not after every surprising workout. Keep the meter only if the numbers change a training choice that heart rate, pace, power, and honest perceived effort did not already answer.
Meter versus lower-cost intensity tools
Compare lactate testing with a chest-strap heart-rate monitor, pace or power targets, talk-test discipline, and coaching feedback. A lactate meter can be useful when an athlete repeatedly overcooks easy days, is preparing for long-course endurance events, or needs a field estimate of intensity domains. It is overkill for a beginner who has not yet built consistent weekly volume.
The hidden costs are strips, lancets, failed samples, and time. A cheaper meter is not cheaper if strips are hard to find or the required blood volume makes failed readings common. Choose a model only after confirming strip availability, storage rules, sample size, result time, and whether the display is readable during a test.
Minimum kit for a clean test
A clean test needs more than the meter. You need enough strips for mistakes, sterile lancets, alcohol wipes, tissues, a sharps container, a timer, and a way to record each stage immediately. Lay everything out before the warmup. The fewer decisions you make while breathing hard, the less likely you are to contaminate a sample or forget the context.
Do not test on a day when you are rushed. A sloppy test can look scientific while producing numbers that change nothing. The best test is calm, boring, repeatable, and followed by a training decision you can explain in one sentence.
Sources
- Blood lactate and endurance training concepts: https://pubmed.ncbi.nlm.nih.gov/29564911/
- Exercise intensity domains review: https://pubmed.ncbi.nlm.nih.gov/28332120/
- FDA sharps disposal container guidance: https://www.fda.gov/medical-devices/safely-using-sharps-needles-and-syringes-home-work-and-travel/sharps-disposal-containers
Testing-evidence context
Lactate testing is best understood as a way to standardize intensity decisions, not as a magic performance score. The same athlete can produce different values when sleep, heat, glycogen status, caffeine, stage length, or sample quality changes. That is why one isolated number should not rewrite a training plan.
The useful evidence comes from repeatable protocols and consistent context. If a test identifies that your easy rides are regularly above the intensity you intended, it can protect recovery. If it produces an impressive-looking curve that you never translate into pace, power, or heart-rate caps, it is just expensive data.
Field-test troubleshooting
If the curve looks erratic, repeat the test before changing training. Erratic results often come from poor blood samples, uneven pacing, hot rooms, or stages that are too short. If the first reading after warmup is unexpectedly high, wash and dry hands and check whether sweat or sports drink contaminated the sample.
If every stage feels harder than expected, the issue may be fatigue rather than threshold. Move the test to a rested day. If results improve dramatically after a recovery week, that information is useful: the original test measured accumulated stress as much as fitness.
When the meter changes decisions
The meter is most useful when it creates a specific pacing or power boundary. For example, a runner who keeps turning easy runs into moderate runs can use a controlled step test to set a conservative ceiling for aerobic days. A cyclist preparing for long events can compare lactate responses at steady power outputs and avoid building the plan around a threshold estimate from a single hard race.
It is less useful when the athlete already has good pacing discipline and no plan for the result. If the test ends with a screenshot but no change to zones, recovery days, or workout design, the meter did not earn its cost. The purchase should also include recurring strip costs and enough practice supplies for failed samples; first-time users often waste strips while learning finger prep and timing.
Coached athletes should agree on the protocol before buying. A coach may prefer lab testing, power-duration modeling, ventilatory cues, or a field protocol that does not require blood sampling. The worst outcome is collecting lactate numbers that conflict with the actual training system and then changing workouts based on whichever number looks most scientific that day.
For running, choose a testing route or treadmill setup that avoids stoplights, downhills, and sharp turns. For cycling, use a stable trainer or a quiet road where each stage can be held steadily. The protocol matters more than the brand: messy stages create lactate values that look precise but cannot guide zones.
After each test, write down the training change immediately. Examples include lowering easy-run pace, setting a ceiling for long rides, or adjusting tempo intervals. If no training prescription changes, wait before buying more strips.
A practical log should show more than lactate. Include stage duration, exact workload, heart rate at the end of each stage, perceived effort, last hard workout, carbohydrate intake, and any sampling problems. Those notes explain why two tests with similar fitness can produce different curves.
Retest only when the answer can alter the next training block.
Final recommendation
A lactate meter belongs in a thoughtful training system, not a drawer of gadgets. Buy one only if you will standardize testing, log context, and let the results shape easier days as well as harder workouts. For many athletes, a chest strap and honest pacing remain the better first purchase.