90/90 Hip Mobility Protocol: Floor Rotations Without Forcing Your Hips
ProtocolQuick picks
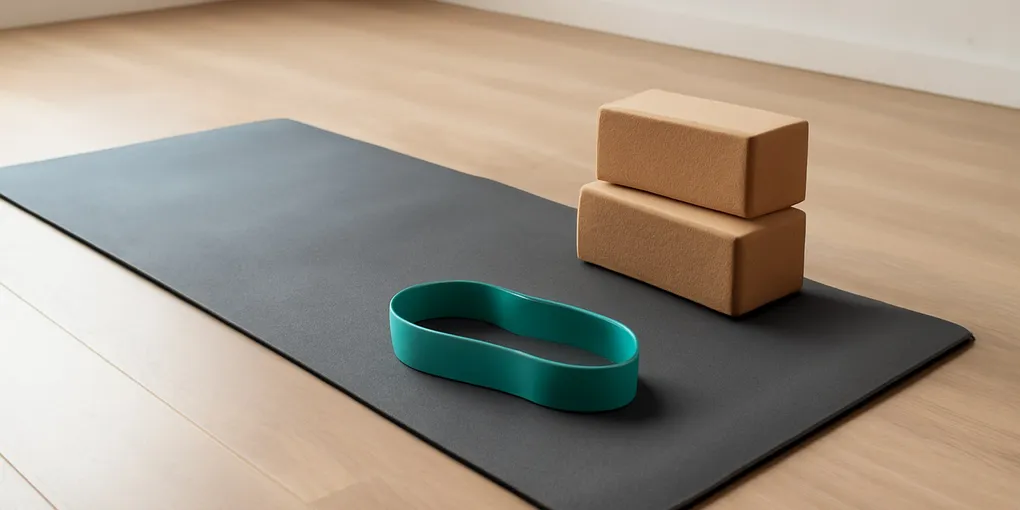
Cork Yoga Block Pair
★ Top pick Best support prop- Best Use: Supporting hands, knees, or hips during floor mobility
- Caveat: Blocks should reduce strain, not help force deeper range
Extra-Thick Exercise Mat
Best floor comfort add-on- Best Use: Knee and ankle comfort during floor rotations
- Caveat: Very soft mats can make balance work less stable
The 90/90 hip position is useful because it asks for hip rotation instead of another generic hamstring stretch. It can also be miserable if you force both knees to the floor, sit tall too soon, or treat pinching as progress. The goal is controlled rotation you can breathe through, not a floor-shape contest.
If the floor position feels cramped, search Amazon for cork yoga blocks to support your hands or hips. If your knees complain on hard floors, search Amazon for an extra-thick exercise mat before blaming your hips.
Quick picks
- Best support prop: cork yoga block pair for hands, hips, or knees when the floor position forces bracing.
- Best comfort add-on: extra-thick exercise mat when knee or ankle pressure, not hip range, is the limiting factor.
- Skip the props if: you can breathe, switch sides, and stand up without pinching or knee discomfort on your current floor.
Quick protocol
- Start seated with the front knee bent about 90 degrees and the back knee bent about 90 degrees.
- Put hands behind you or on blocks so your spine can stay relaxed.
- Breathe for three slow breaths before moving.
- Rotate both knees side to side only as far as you can control without hip pinching.
- Do 2 sets of 4 to 6 slow switches, two to four days per week.
Use this after walking, cycling, or an easy warm-up. Cold floor mobility is harder to judge because everything feels stiff.
Practical score
| Factor | Weight | Score | Rationale |
|---|---|---|---|
| Research | 30% | 6.5 | Hip range of motion and strength matter for movement options, but this exact drill is a practical mobility method rather than a medical treatment. |
| Evidence Quality | 25% | 5.5 | Clinical hip literature supports assessing rotation limits; drill-specific outcomes are less certain. |
| Value | 20% | 8.0 | The drill is free and props are inexpensive. |
| User Signals | 15% | 7.0 | People feel immediate range feedback, but many need regressions to avoid pinching. |
| Transparency | 10% | 7.0 | The movement is easy to inspect because discomfort and control are obvious. |
| Composite | 100% | 6.7 | A high-value mobility drill when treated as graded practice, not forced stretching. |
Why the 90/90 position is different
Many hip stretches bias flexion or external rotation. The 90/90 position exposes both external rotation in the front hip and internal rotation in the back hip. That makes it useful for lifters, runners, desk workers, and anyone who notices that one side turns much worse than the other.
Hip mobility is not just passive length. The American Academy of Orthopaedic Surgeons’ hip conditioning program includes both stretching and strengthening because usable range needs control (https://orthoinfo.aaos.org/en/recovery/hip-conditioning-program/). That is the frame for this protocol. You are practicing positions your hips can own.
If you want a broader lower-body warm-up, combine this with our lateral step-down knee control protocol on a different day. The 90/90 drill gives rotation practice; step-downs show whether hip and knee control survive standing movement.
Setup: make the first rep easier
Sit on a folded towel, yoga block, or low cushion if your pelvis immediately tucks under. Elevating the hips can reduce strain and make rotation smoother. Put your hands behind you at first. You do not earn extra credit for sitting upright if the position makes your hip pinch.
Place the front shin at a comfortable angle. It does not have to be perfectly parallel to the front of the mat. The back leg also does not need to be a perfect square. Use approximate right angles, then adjust until the stretch feels muscular rather than joint-like.
Keep the ankles relaxed. Many people crank the feet to make the knees look better. That just moves stress downstream.
The basic 90/90 switch
Begin in a supported 90/90 seat. Take three slow breaths. Let the ribs settle and keep the hands on the floor or blocks. Rotate both knees toward the other side as one unit, moving slowly enough that you can stop at any point.
When you arrive on the other side, pause. Do not bounce. Check for three things: no sharp hip pinch, no knee pain, and no numbness. If all three are clear, breathe once and switch back.
Do 4 to 6 switches per set. Two sets are enough. If your hips feel better after set one and worse after set two, stop at one set next time.
Regressions for stiff hips
Use a higher seat. Sitting on a yoga block, thick book, or folded towel can turn an impossible drill into a useful one. The higher setup reduces the demand on hip rotation.
Use your hands. Keep both hands behind you or beside you until the movement is smooth. Hands are not cheating. They are the difference between hip practice and bracing through your low back.
Shrink the range. You can rotate halfway, pause, then return. Partial controlled reps are better than full sloppy reps. This is especially helpful for people who feel a front-hip pinch near the end range.
Progressions after the position feels calm
Once unsupported switches feel smooth, add a tall-sit pause for one breath on each side. Then add gentle front-leg hinging: keep the spine long, tip forward a few inches over the front shin, and come back up. The hinge should feel like glute or outer-hip stretch, not a hip-joint pinch.
Later, practice lift-offs carefully. In the 90/90 position, try to make the back ankle light for one second without leaning away. If that causes cramping or pinching, return to basic switches.
Stop rules
Stop for sharp pain, groin pinching that worsens with each rep, numbness, tingling, knee pain, or symptoms after the session that change your gait. Hip impingement, labral issues, recent surgery, and inflammatory joint conditions need individualized guidance.
Mobility should improve the next movement. Stand up and walk after the set. If walking feels smoother, you chose the right dose. If you feel irritated, use less range, more support, or a different drill.
90/90 Hip Mobility FAQ
Should my knees touch the floor?
No. Floor contact is not the goal. Comfortable control matters more than forcing both knees down.
Is 90/90 better than pigeon pose?
It depends on the goal. Pigeon often emphasizes the front hip. The 90/90 position makes it easier to compare both hips and practice internal rotation on the back side.
Can I do this before squats?
Yes, briefly. Use one easy set, then warm up with squat-specific loading. Do not exhaust your hips with long holds before heavy work.
Frequently Asked Questions
- No. Mild stretch or effort is acceptable, but pinching, sharp pain, numbness, or joint pain means you should regress or stop.
- Two to four short sessions per week is enough for many people if the work stays comfortable and controlled.
- No, but blocks can make the position easier to control if your hands, knees, or hips need support.