Quick picks
Omron Upper Arm Blood Pressure Monitor
★ Top pick Best mainstream upper-arm option- Best Use: Users who want a widely available upper-arm monitor with cuff-size options
- Caveat: Confirm the included cuff range matches your measured arm circumference
Greater Goods Blood Pressure Monitor Kit
Best simple home kit- Best Use: Basic upper-arm tracking with a straightforward display and storage case
- Caveat: Validate cuff fit and compare readings with clinic guidance
Extra Large Blood Pressure Cuff
Best fit upgrade- Best Use: Larger arms that fall outside the standard cuff range
- Caveat: It must be compatible with your monitor model, tubing, and connector
Bottom line
A home blood pressure monitor is only useful if the cuff fits your arm and you measure the same way each time. Start with an upper-arm monitor, measure your mid-arm circumference, and choose the cuff range before comparing features. The Search Amazon for Omron Upper Arm Blood Pressure Monitor is a sensible first search because cuff compatibility is usually easier to check. A Search Amazon for Greater Goods Blood Pressure Monitor Kit can be a simpler alternative. If your arm is outside the included range, search for an Search Amazon for Extra Large Blood Pressure Cuff that explicitly matches your monitor.
The protocol below is not about diagnosing yourself from one number. It is about reducing preventable measurement error so your clinician has better home data to interpret.
Quick picks
- Mainstream upper-arm search: Search Amazon for Omron Upper Arm Blood Pressure Monitor when cuff-size documentation is the priority.
- Simple home kit search: Search Amazon for Greater Goods Blood Pressure Monitor Kit if you want a basic case-and-monitor setup.
- Fit upgrade search: Search Amazon for Extra Large Blood Pressure Cuff only after confirming connector and monitor compatibility.
Why cuff size matters
The American Heart Association and clinical measurement statements emphasize proper cuff size because an undersized cuff can overestimate blood pressure, while an oversized cuff can underestimate it. The error is not trivial. It can be large enough to change how a reading is interpreted.
Wrist cuffs can be accurate in specific situations, but they are easier to position incorrectly. For most home users, an upper-arm monitor with the right cuff is the better starting point; our home blood pressure monitor protocol covers the broader seven-day logging routine after cuff fit is solved.
Step 1: measure your arm
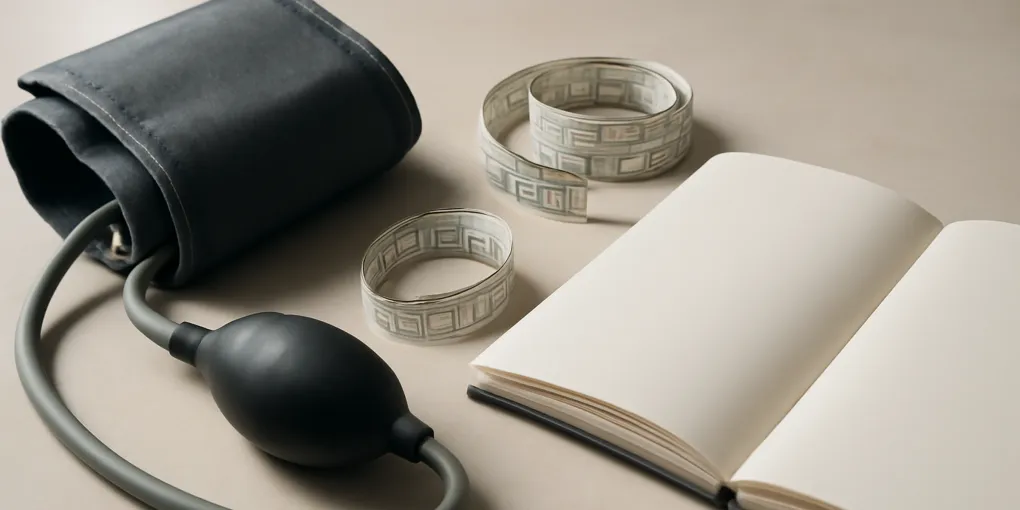
Use a soft tape measure. Wrap it around the bare upper arm at the midpoint between the shoulder and elbow. Keep the tape snug but not compressed. Write the circumference in centimeters and inches.
Now compare that number with the cuff range printed in the monitor listing, manual, or cuff label. Do not assume standard means universal. Many standard cuffs fit only a middle range of adult arms.
If your arm is close to the upper or lower edge of a cuff range, look for a better match. A cuff that technically fits but barely reaches can still be awkward and inconsistent.
Step 2: choose the right monitor type
Prefer a validated upper-arm monitor. Validation means the device has been tested against recognized protocols, not merely that it has many reviews. The American Medical Association’s Validate BP listing and other validation registries can help you check models.
Choose a device that supports replacement cuffs. If the tubing and connector are proprietary, make sure compatible cuff sizes are available before buying. For households with multiple users, a monitor that stores separate profiles can prevent mixed logs.
Step 3: set up the measurement position
Sit quietly for five minutes before measuring. Keep both feet flat on the floor. Support your back. Rest the arm on a table so the cuff is at heart level. Place the cuff on bare skin, not over clothing.
Avoid caffeine, nicotine, exercise, and a rushed conversation right before a planned reading. The Centers for Disease Control and Prevention and AHA both stress consistent technique because home readings are used to complement clinic measurements.
Step 4: place the cuff consistently
Wrap the cuff around the upper arm with the artery marker aligned according to the manual. The lower edge usually sits about one inch above the elbow crease, but follow your specific cuff instructions.
The cuff should be snug enough that it stays in place but not so tight that it pinches before inflation. Keep the tube relaxed. Do not hold the cuff with your opposite hand during measurement.
Step 5: take two readings
Take two readings one minute apart. Record both, along with date, time, arm used, device model, cuff size, and any unusual context such as poor sleep, illness, or heavy exercise. Many clinicians prefer averages over single readings.
If a reading is unexpectedly high, sit quietly and repeat according to your clinician’s instructions. Seek urgent care for severe readings with concerning symptoms such as chest pain, shortness of breath, weakness, or confusion.
A simple seven-day home log
If your clinician asks for a home baseline, a common pattern is morning and evening measurements for several days, discarding the first day and averaging the rest. Follow your clinician’s exact plan if they gave one. Do not change medication based only on your own spreadsheet.
Use a notebook or app, but keep it boring. The data should be easy to scan: date, time, systolic, diastolic, pulse, arm, cuff, and notes.
Common cuff-sizing mistakes
- Buying the monitor before measuring the arm.
- Using a standard cuff on a larger arm because it closes with effort.
- Sharing one cuff across users with very different arm sizes.
- Measuring over sleeves.
- Letting the arm hang below heart level.
- Talking during the measurement.
Each mistake can push readings away from your true resting value. Fixing technique is often cheaper than buying a more complicated monitor.
When to consider a different cuff
Buy or request a different cuff if the included range does not match your arm circumference, the cuff pops loose, the tube angle forces twisting, or readings vary wildly despite calm technique. Also consider bringing your monitor to a clinic visit so staff can compare its readings with their equipment.
Home monitor FAQ
Is a wrist blood pressure cuff bad?
Not always, but it is easier to misuse because wrist height and position matter. Use an upper-arm cuff unless your clinician recommends a wrist device for a specific reason.
Can a cuff be too large?
Yes. Too-large cuffs can underestimate blood pressure. Match your measured arm circumference to the cuff’s stated range.
How often should I replace a cuff?
Replace it if the bladder, tubing, connector, or hook-and-loop closure is damaged, or if readings become inconsistent after technique is controlled. Follow the manufacturer’s manual.
Should I buy a smart monitor?
Only if the cuff fits and the device is validated. App features do not compensate for poor cuff size or bad measurement position.
Sources
- American Heart Association. Home blood pressure monitoring guidance. https://www.heart.org/en/health-topics/high-blood-pressure/understanding-blood-pressure-readings/monitoring-your-blood-pressure-at-home
- Muntner P, Shimbo D, Carey RM, et al. Measurement of Blood Pressure in Humans: A Scientific Statement From the American Heart Association. Hypertension. 2019. PMID: 30827125. https://pubmed.ncbi.nlm.nih.gov/30827125/
- Centers for Disease Control and Prevention. Measure Your Blood Pressure. https://www.cdc.gov/high-blood-pressure/measure/index.html
- Target: BP. Patient-measured blood pressure tools and home-measurement resources. https://targetbp.org/tools-downloads/patient-measured-bp/