Exercise Slider Core Protocol: A Low-Cost Way to Train Anti-Extension Without Wrecking Your Back
ProtocolQuick picks
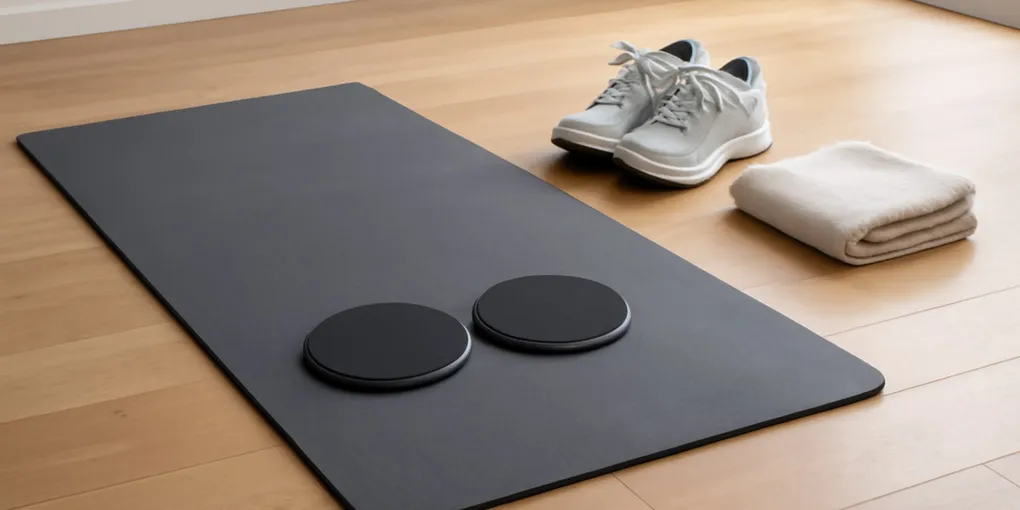
Dual-sided exercise sliders
★ Top pick Best low-cost tool- Best Use: Knee-tucks, body-saws, mountain-climber regressions, and hamstring curls
- Caveat: Surface matters; carpet and hard floors need different sides
Stability ball
Best gentler alternative- Best Use: Rollouts and dead-bug variations when sliders feel too abrupt
- Caveat: Needs more storage space and a correctly inflated ball
Bottom line
Exercise sliders are cheap, small, and surprisingly effective for core training when you use them slowly. They make the hands or feet move away from the body, so your trunk has to resist extension and rotation. That is useful. It also means sliders can expose a weak plank quickly.
Quick picks for slider setups
- Dual-sided exercise sliders: start here if you want one tool that works on carpet and hard floors. Check disc diameter, edge finish, and whether the fabric side is soft enough for wood or tile. Search Amazon for dual-sided exercise sliders.
- Stability ball: use this instead of sliders if rollouts feel too abrupt or your floor is too slick for controlled reps. It is larger to store, but easier to scale for beginners. Search Amazon for stability balls for core exercise.
For a harder rollout progression after sliders feel controlled, compare the setup cues in our ab wheel rollout protocol.
Quick setup
- Surface: test one slider for friction before a set. It should glide, not shoot away.
- Range: start with small movement and stop before the low back sags.
- Position: ribs down, glutes lightly squeezed, hands or forearms under shoulders.
- Dose: two to three sets of short, clean reps beat one sloppy burnout set.
- Exit rule: stop the set when you feel low-back pressure instead of abdominal effort.
Why sliders work
Most people think of core training as crunching. Sliders train a different job: resisting motion while the limbs move. In a body-saw, the forearms stay down while the body glides back. In a knee-tuck, the feet slide in while the trunk stays stacked. In a slow mountain climber, the pelvis stays quiet while one leg moves.
That makes sliders a good bridge between planks and harder rollout work. The CDC adult guideline recommends muscle-strengthening work for major muscle groups. Slider drills fit that category only when they are strong enough to challenge you and controlled enough to repeat.
The 12-minute slider protocol
Step 1: plank baseline, 2 minutes
Hold a forearm plank on the floor for 15 to 25 seconds. If you cannot keep the ribs and pelvis stacked, do not add sliders yet. Use shorter planks, dead bugs, or elevated hands until the baseline is clean.
Step 2: kneeling hand slides, 3 minutes
Start on hands and knees with one slider under each hand. Slide one hand forward a few inches, pause, and pull it back. Alternate sides for five reps per side. Keep the movement small enough that the low back does not dip.
This is the best first drill because the knees shorten the lever. You still train anti-extension, but the penalty for a mistake is lower.
Step 3: forearm body-saw, 3 minutes
Put both feet on sliders and forearms on the mat. From a forearm plank, glide the body backward two to four inches, then return. Think of moving from the shoulders, not piking the hips. Do three to six reps per set.
If the movement is too hard, do it with knees down. If it is too easy, slow the rep before adding range.
Step 4: slow slider mountain climber, 2 minutes
Hands on the floor, feet on sliders. Bring one knee toward the chest slowly, return it, then switch sides. Keep hips level. This is not a conditioning sprint. It is a trunk-control drill.
Step 5: hamstring curl option, 2 minutes
Lie on your back with heels on sliders and hips lifted. Slide heels out a short distance, then pull back. This trains hamstrings and glutes while the trunk resists sagging. Skip it if it causes cramping or low-back pressure.
Progression rules
Progress one variable at a time: longer range, slower tempo, more reps, or a harder body position. Do not add all four. A common mistake is jumping from kneeling slides to long-lever plank saws. That often changes the exercise from abdominal control to low-back extension tolerance.
Keep a simple score. After each set, ask: did my hips stay level, did my low back stay quiet, and could I breathe? If the answer is no, reduce range or choose an easier drill.
When sliders are not the right tool
Skip sliders during acute back pain, wrist pain that makes floor support uncomfortable, or shoulder irritation with plank positions. Choose dead bugs, side planks from the knees, or a stability-ball rollout with a shorter range. If pain travels down the leg, causes numbness, or changes strength, get medical guidance instead of testing another core gadget.
Sliders are also poor for very slick floors where the disc accelerates faster than you can control. Use a mat boundary, a different slider side, or a towel with more friction.
Product details to check
Dual-sided discs are the easiest choice. One side usually has a fabric-like surface for hard floors; the other has a smoother plastic surface for carpet. Check diameter if you have large shoes. Very small discs can be annoying for hamstring curls and mountain climbers.
Avoid sliders with sharp edges, peeling fabric, or a slick side that scratches floors. If you train on hardwood, test under a couch first or use a mat.
Exercise slider FAQ
Are sliders better than an ab wheel?
They are easier to scale for many beginners because you can use one limb at a time, shorten the range, or stay on the knees. An ab wheel is more specific and more demanding because both hands roll away together and the wheel keeps moving if your trunk position fails. Use sliders first if your plank is under 30 seconds or if you need carpet-versus-hard-floor friction control.
How often should I use sliders?
Two or three short sessions per week is enough for most home users. Put them after warmups or at the end of strength training, not before heavy squats, deadlifts, or overhead presses that need fresh trunk stiffness. A useful dose is two rounds of kneeling hand slides plus body-saw holds, stopping each set before the low back takes over.
Can sliders help with running?
They can support trunk and hip control, but they are not a running workout. For runners, the best slider choices are slow mountain climbers, hamstring curls with a short range, and side-plank reach variations that train pelvis control without impact. Keep them as accessory strength work alongside running, walking, and progressive lower-body training.
Sources
Frequently Asked Questions
- Yes, if you use them for controlled anti-extension and anti-rotation drills. They are not useful if every rep turns into sagging hips and rushed mountain climbers.
- Beginners can use sliders after they can hold a clean plank on the floor. Start with short ranges from the knees or forearms.
- Use the smooth side on carpet and the fabric side on hard floors if the slider is dual-sided. Test friction before a full set.