Farmer's Carry Grip Conditioning Protocol: A Simple Plan for Stronger Carries
ProtocolQuick picks
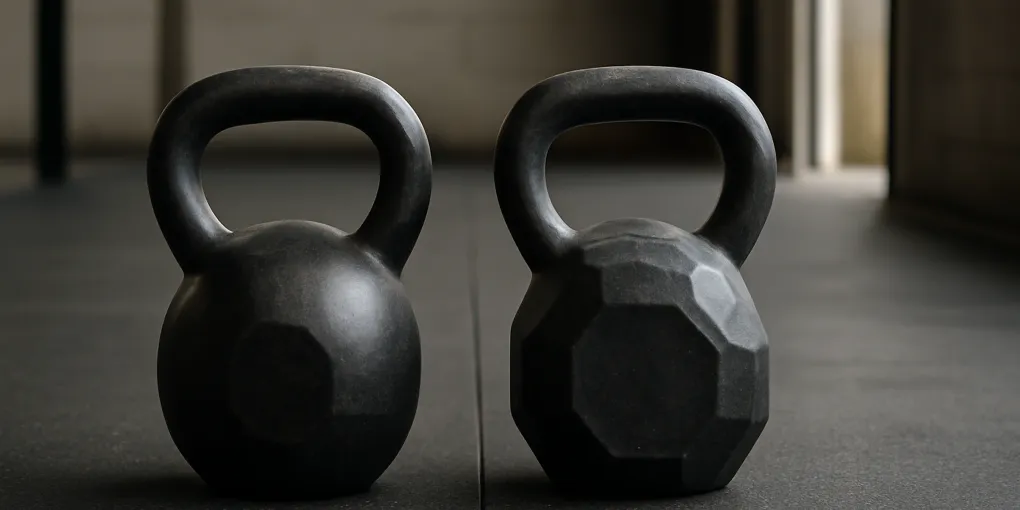
Yes4All Cast Iron Kettlebell Pair
★ Top pick Best compact carry pair- Best Use: Short apartment or garage carries when dumbbells are not available
- Caveat: Handle diameter and finish vary by size, so check comfort before high volume
CAP Hex Dumbbell Pair
Best simple dumbbell option- Best Use: Beginner and intermediate carries with predictable load and easy storage
- Caveat: Knurling can irritate hands during longer intervals
Gymreapers Lifting Straps
Best optional deload tool- Best Use: Occasional heavier carries when grip should not be the limiting factor
- Caveat: Do not use straps for every grip-focused session
Bottom line
The farmer’s carry is one of the simplest ways to train grip, posture, trunk stiffness, and conditioning at the same time. Start with a pair of loads you can carry for 20 to 40 seconds without leaning, rushing, or losing shoulder position. A Search Amazon for CAP Hex Dumbbell Pair is the easiest setup for most home gyms, while a Search Amazon for Yes4All Cast Iron Kettlebell Pair works well if you prefer compact bells. Use Search Amazon for Gymreapers Lifting Straps only when the goal is trunk or leg loading rather than grip.
This protocol turns carries into a repeatable plan instead of a random finisher. The goal is to finish each rep tall, calm, and in control.
Quick picks
- Simplest carry setup: Search Amazon for CAP Hex Dumbbell Pair if you want predictable loads that store under a bench.
- Compact kettlebell option: Search Amazon for Yes4All Cast Iron Kettlebell Pair when handle comfort matters more than dumbbell knurling.
- Optional deload tool: Search Amazon for Gymreapers Lifting Straps for occasional trunk-focused carries, not every grip session.
Who should use this protocol
Use it if you want a low-skill strength-conditioning exercise that fits a garage, hallway, driveway, or small gym lane. It is especially useful for people whose grip gives out during deadlifts, pull-ups, grocery carries, or rucking.
Skip or modify it if you have acute back pain, uncontrolled hypertension, dizziness with exertion, recent abdominal surgery, or shoulder pain that worsens when holding weights at your sides. Heavy loaded carries can create a strong bracing demand. Start lighter than your ego suggests.
Equipment setup
Choose two matching dumbbells or kettlebells. Matching loads keep the first phase simple. Uneven carries are useful later, but they are not the place to start if you are learning posture and pace.
Set a lane of 20 to 40 feet. If space is limited, use a timed hold-and-march pattern, but avoid shuffling in tiny circles. Rubber flooring, flat concrete, or a firm track surface works best. Do not carry heavy bells across cluttered rooms.
Chalk can help if hands sweat. Straps are optional and should be saved for specific sessions. If every carry uses straps, the exercise no longer trains grip in the same way.
The four-week base plan
Train carries two days per week after your main strength work or as a short conditioning block. Keep at least one day between sessions.
Week 1: learn the posture
- Load: a pair you can hold for about 45 seconds if you had to.
- Work: 6 rounds of 20-second carries.
- Rest: 60 to 90 seconds.
- Cue: ribs stacked over pelvis, eyes forward, quiet steps.
Stop a round when posture fails. Do not chase distance by leaning backward or shrugging hard.
Week 2: build repeatability
- Load: same as week 1 or 5 to 10 percent heavier.
- Work: 8 rounds of 20 seconds.
- Rest: 60 to 90 seconds.
- Cue: crush the handles lightly but keep your neck relaxed.
The carry should feel challenging by the last two rounds but still organized.
Week 3: extend the set
- Load: same as week 2.
- Work: 6 rounds of 30 seconds.
- Rest: 90 seconds.
- Cue: breathe behind the brace rather than holding your breath for the full set.
This week often exposes pacing errors. If you sprint the first 10 seconds, your grip will fail early.
Week 4: test without grinding
- Load: same as week 3 or slightly heavier.
- Work: 4 rounds of 40 seconds.
- Rest: 2 minutes.
- Cue: finish each round before your posture breaks.
Record load, set duration, and whether the last 10 seconds stayed clean. That is better data than a sloppy maximum-distance attempt.
Technique cues that matter
Pick up the weights with a hinge or squat pattern, not a rounded-back curl. Stand fully before walking. Keep the handles at your sides, shoulders down and slightly back, and wrists neutral. Walk with short, deliberate steps.
A good carry looks almost boring. The torso does not sway, the head does not jut forward, and the feet do not slap the floor. If your traps cramp, reduce the load and stop shrugging.
How to progress after four weeks
Use one progression at a time:
- Add 5 pounds per hand.
- Add 5 to 10 seconds per carry.
- Add one or two rounds.
- Reduce rest slightly.
- Switch to suitcase carries with one hand at a time.
Do not progress load, duration, and rest all at once. Loaded carries produce fatigue that can hide until your next lifting session.
Conditioning version
For conditioning, keep the load moderate and repeat short carries with full posture. Try 6 rounds of 20 seconds carrying and 60 to 90 seconds resting. You should finish each round tall, not stumbling. This is not a race.
Pair this with other loaded tools rather than making every session a grip limit test. A compact sandbag, sled, or trap-bar option can train carries, shouldering, and trunk control without turning every set into a maximal grip test.
Strength version
For strength, use heavier loads and longer rest. Try 5 rounds of 15 to 25 seconds with 2 to 3 minutes between rounds. The load should be hard but not maximal. Heavy carries are not safe if you have to drop the weights unexpectedly in a shared room.
Farmer’s carry FAQ
Are farmer’s carries enough for grip strength?
They are a strong base, but they do not cover every grip quality. Add hangs, rows, or pinch-grip work if your sport or job requires more variety.
Should I use kettlebells or dumbbells?
Dumbbells are more predictable. Kettlebells often challenge the hand differently because the handle is thicker or smoother. Use whichever lets you progress safely.
Should I wear gloves?
Gloves may reduce skin irritation but can make handles feel larger and less secure. Chalk is often better for serious grip training.
How heavy should farmer’s carries be?
Start with a load you can carry cleanly for 20 to 40 seconds. If posture changes immediately, it is too heavy for this protocol.
Sources
- U.S. Department of Health and Human Services. Physical Activity Guidelines for Americans, 2nd edition. https://health.gov/our-work/nutrition-physical-activity/physical-activity-guidelines
- American College of Sports Medicine. Physical activity and resistance-training guidance. https://www.acsm.org/education-resources/trending-topics-resources/physical-activity-guidelines
- National Strength and Conditioning Association. Strength and conditioning education resources. https://www.nsca.com/education/