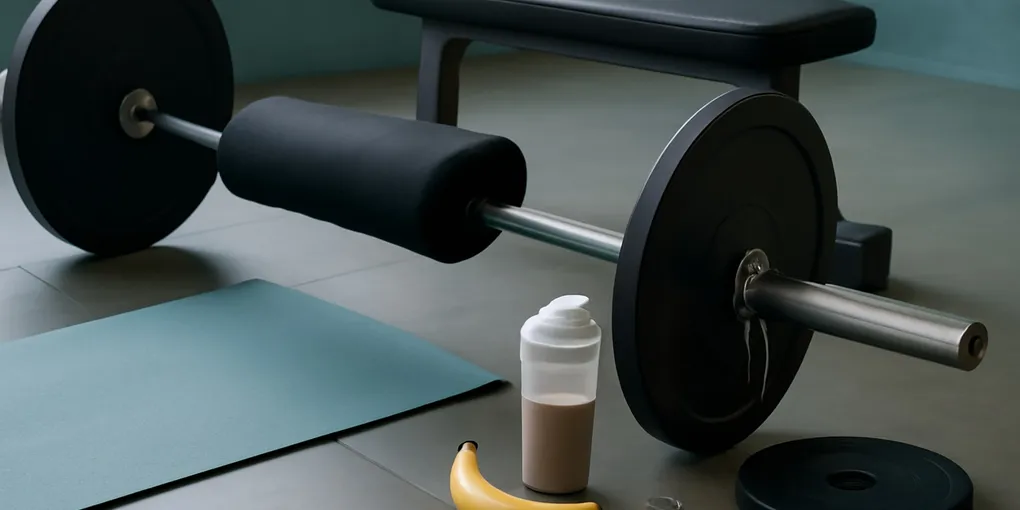
Hip Thrust Setup Protocol: Build Glutes Without Turning the Bench, Bar, and Pad Into the Workout
ProtocolQuick picks
| Product | Key Specs |
|---|---|
| See price on Amazon | — |
| See price on Amazon | — |
| See price on Amazon | — |
Product availability, certifications, and retailer details can change; check the current Amazon page before buying.
Hip thrusts are simple only after the setup is solved. The actual exercise is a loaded hip extension, but beginners often spend more energy fighting the bench, bar, pad, and foot position than training the glutes. This protocol fixes the setup first: stable support, centered padding, repeatable foot placement, controlled lockout, and progression only after the reps look the same.
For barbell comfort, search Amazon for a Dark Iron Fitness barbell pad or a similar dense hip-thrust pad. For warm-up feedback, search Amazon for the Sling Shot Hip Circle. If a standard bench is too tall, search Amazon for an adjustable aerobic step platform.
Protocol summary
- Use a bench or platform that does not slide.
- Place the lower edge of the shoulder blades against the support, not the neck.
- Center the bar over the hip crease with dense padding.
- Set feet so shins are near vertical at the top.
- Finish each rep by squeezing through the hips, not by arching the lower back.
- Add load only when the bench, feet, and lockout stay consistent.
Why the exercise is worth setting up carefully
Hip thrusts can load hip extension hard while keeping the torso relatively supported. Research comparing hip thrust and squat variations has reported high gluteal muscle activity in hip thrust patterns, which supports using the exercise for glute-focused strength work without pretending it replaces every squat or hinge (https://pubmed.ncbi.nlm.nih.gov/26214739/). Another training study found strength and sprint-related adaptations from barbell hip thrust training in adolescent athletes, but that does not mean every home lifter needs heavy singles (https://pubmed.ncbi.nlm.nih.gov/27834678/).
The practical takeaway is narrower: hip thrusts are useful when you can repeat the same position under load. If the setup changes every set, the exercise becomes a furniture problem.
Practical score
| Factor | Weight | Score | Rationale |
|---|---|---|---|
| Research | 30% | 7.0 | Hip thrust studies support glute loading and strength adaptations, though populations and protocols vary. |
| Evidence Quality | 25% | 6.5 | Evidence is exercise-specific but not a guarantee that heavy hip thrusting is necessary for every goal. |
| Value | 20% | 7.5 | A pad and stable support are inexpensive if you already own a barbell. |
| User Signals | 15% | 7.0 | Setup comfort, bench height, and bar pressure are the common make-or-break details. |
| Transparency | 10% | 7.0 | Good products clearly show pad thickness, strap design, platform height, and dimensions. |
| Composite | 100% | 7.0 | A strong glute-strength tool when the setup is repeatable and the load is not rushed. |
Step 1: choose the right support height
A flat bench works for many lifters, but it is not automatically correct. If the bench is too high, you may feel jammed under the bar and arch the lower back to finish. If it is too low, the upper back may slide and the range of motion may shrink.
Start with the lower edge of the shoulder blades on the support. Your head and neck should move with the torso rather than craning backward. If you cannot keep the bench still, push it against a rack, wall, or heavy dumbbells. If that still fails, use a lower platform or do floor bridges.
Step 2: place the bar and pad
Roll the bar over the legs only if you can do it safely. Many lifters prefer plates large enough to create clearance or use a rack setup. Center the pad over the hip crease before the first rep. If the pad rotates or the bar drifts toward the stomach, reset instead of grinding through.
A thick pad is not a performance upgrade; it is a comfort and consistency tool. The best pad is dense enough to reduce sharp pressure but not so bulky that you lose track of the bar.
Step 3: find foot position
At the top, aim for shins near vertical and feet flat. If your feet are too close, the exercise may feel like a quad-dominant squat bridge. If they are too far away, you may feel hamstrings dominate or cramp.
Mark the floor with tape once you find the right distance. This sounds fussy, but it prevents every set from becoming a new experiment. Keep knees tracking over the middle of the foot. A light fabric band can cue knee position, but it should not turn the set into a side-hip burn contest.
Step 4: use the beginner progression
Start with two sets of 10 bodyweight floor glute bridges. Pause one second at the top and keep ribs down. When that is easy, move to shoulders-elevated hip thrusts without load for two to three sets of 8 to 12.
Next, add a light bar or dumbbell. Use 3 sets of 8 reps with a one-second pause. Stop each set with two clean reps in reserve. Progress by adding small load only when all reps lock out without lower-back extension.
For strength work, 3 to 5 sets of 5 to 8 reps can make sense after the setup is automatic. For hypertrophy, 2 to 4 sets of 8 to 15 reps works better for many home lifters. Do not max out a movement you still cannot set up smoothly.
Common mistakes
The first mistake is bench slide. If the support moves, the set is over. The second is overextending at the top. A good lockout finishes with hips extended and ribs controlled, not with the chest flared and lower back compressed.
The third mistake is using a band as a badge. Bands can warm up glutes and cue knee tracking, but heavy barbell sets do not need to be banded by default. If the band changes your foot pressure or makes the bar path wobble, remove it.
The fourth mistake is chasing load before range. If you cannot pause the top position with bodyweight, the bar is not the fix.
When to choose another exercise
Use floor glute bridges if the bench setup irritates your back, if you train in a crowded room, or if you cannot find a stable platform. Use Romanian deadlifts if you need a hinge pattern. Use step-ups or split squats if your goal is single-leg control. The hip thrust is a good tool, not a required ceremony.
If knee control is your limiting factor, the lateral step-down protocol may be a better companion than adding more hip-thrust load.
Hip Thrust FAQ
Where should I feel hip thrusts?
Mostly in the glutes, with some hamstring and quad contribution depending on foot position. Sharp back pressure, pinching in the front of the hip, or cramping that does not improve with foot adjustment is a reason to stop and reassess.
How often should I train them?
One to two times per week is enough for most home strength programs. Heavy hip thrusts create fatigue, and more sessions only help if recovery and technique stay intact.
Can I do hip thrusts without a barbell?
Yes. Dumbbell hip thrusts, single-leg bridges, banded bridges, and elevated bodyweight thrusts are all valid. Use the version you can set up cleanly before worrying about what looks strongest online.
Frequently Asked Questions
- Many lifters do best with support around lower-scapula height, but the right height is the one that lets ribs stay down, shins approach vertical, and the bench stay still.
- Most people need padding once loads get moderate. Use a dense pad or folded mat that keeps the bar centered without rolling.
- Start with floor glute bridges if the bench setup feels unstable or if you cannot lock out without arching the lower back.